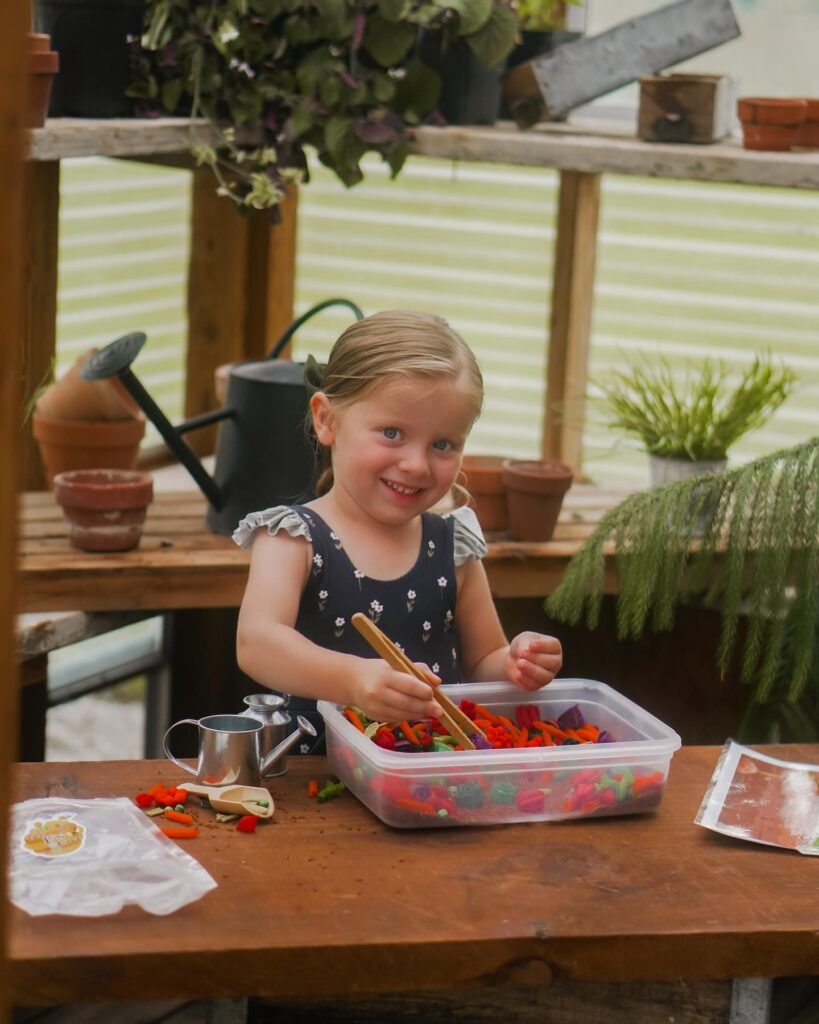
How To Create A DIY Sensory Bin

Ever feel like your toddler needs something a little more exciting than their regular toys but way less chaotic than a paint explosion? Say hello to the sensory bin, your new parenting secret weapon. It keeps little hands busy, sparks their imagination, and gives you actual minutes of quiet which, let’s be real, feels like a luxury. The best part? You can throw one together at home using stuff you already have in your kitchen or garage. No fancy Pinterest-worthy spreads required.
Here’s how to create a DIY sensory bin step by step (without losing your mind).
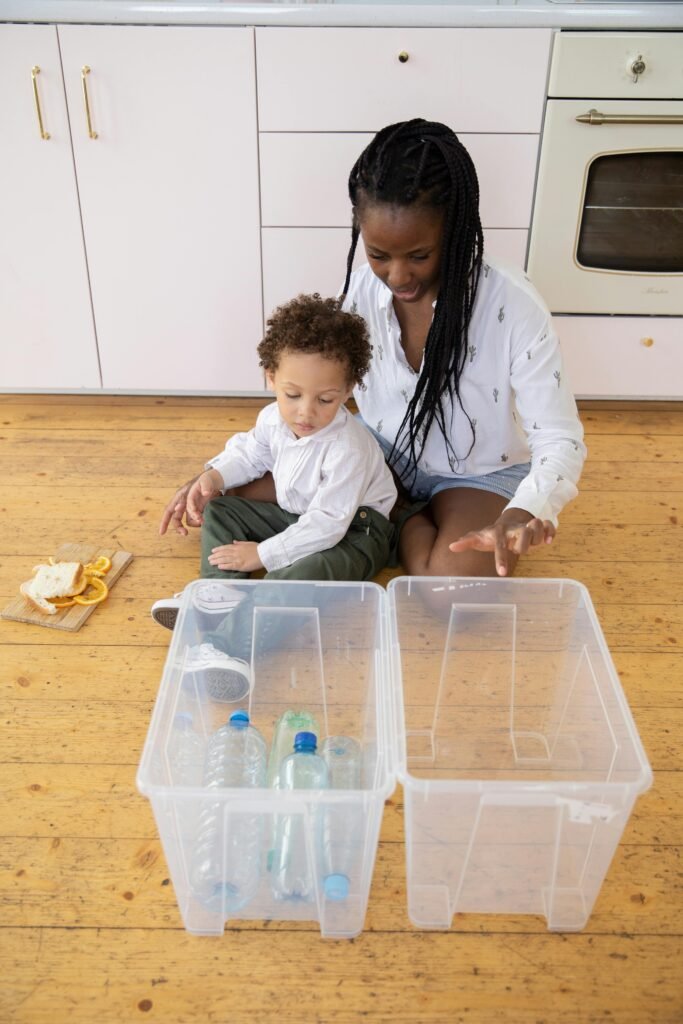
Step 1: Pick Your Bin
You don’t need anything special, just a plastic storage container, a shallow bin, or even a large baking tray. The only real rule: make sure it’s big enough for your kiddo to dig their hands in and sturdy enough to handle some squishing or tipping. Lids are a bonus if you want to store the setup for later.
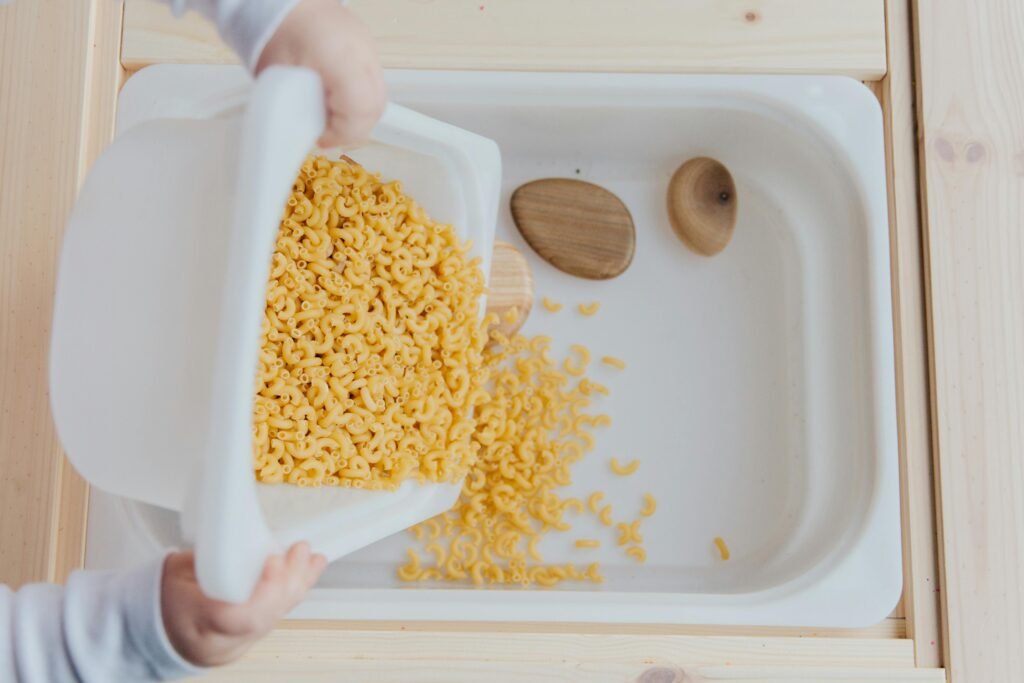
Step 2: Choose Your Base Material
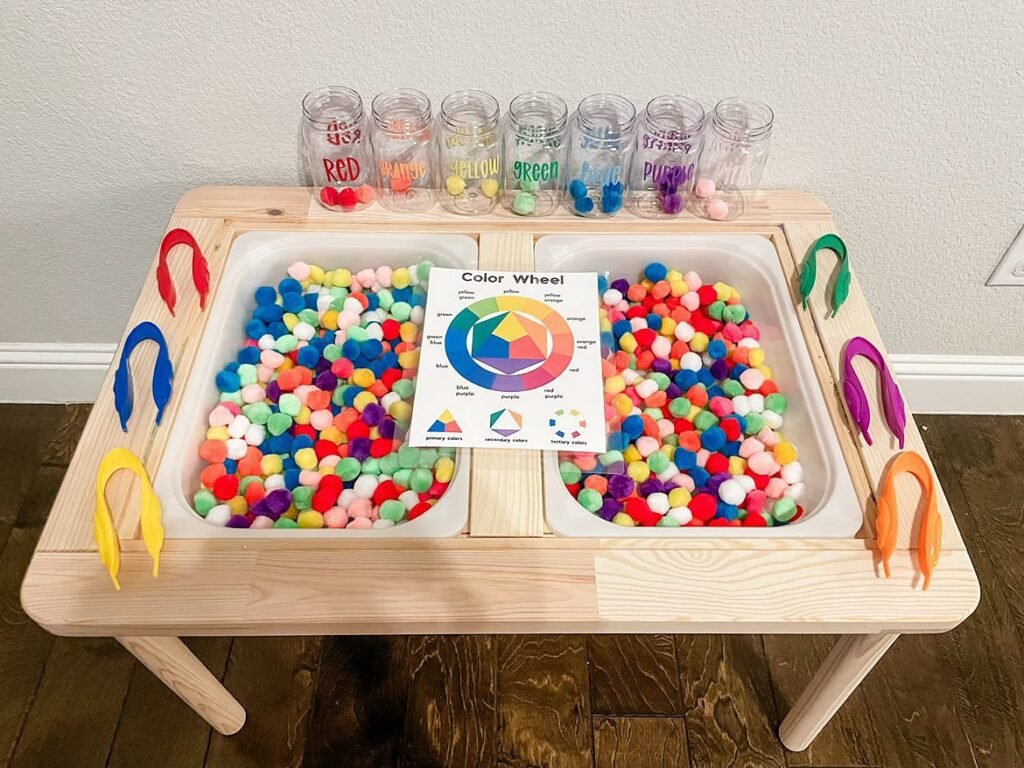
This is where the magic starts. Pick a filler that’s safe for your toddler’s age and taste-test habits (because yeah, they might sneak a bite). Here are a few examples of easy ideas: Dry rice or pasta, Dried beans, Oats, cereal, or cornmeal, Cotton balls or pom-poms, Kinetic sand or homemade playdough, Water (warm, room temp, or colored with food coloring).
You really can’t go wrong. If it’s scoop able, pourable, or squishable, it works.
Step 3: Add the Tools
Toss in some simple tools measuring cups, plastic spoons, funnels, muffin tins, silicone cupcake liners. No need to buy anything new. Raid your kitchen drawers or even their play kitchen. Just giving them things to scoop, pour, fill, and dump turns it into a full-on experience.
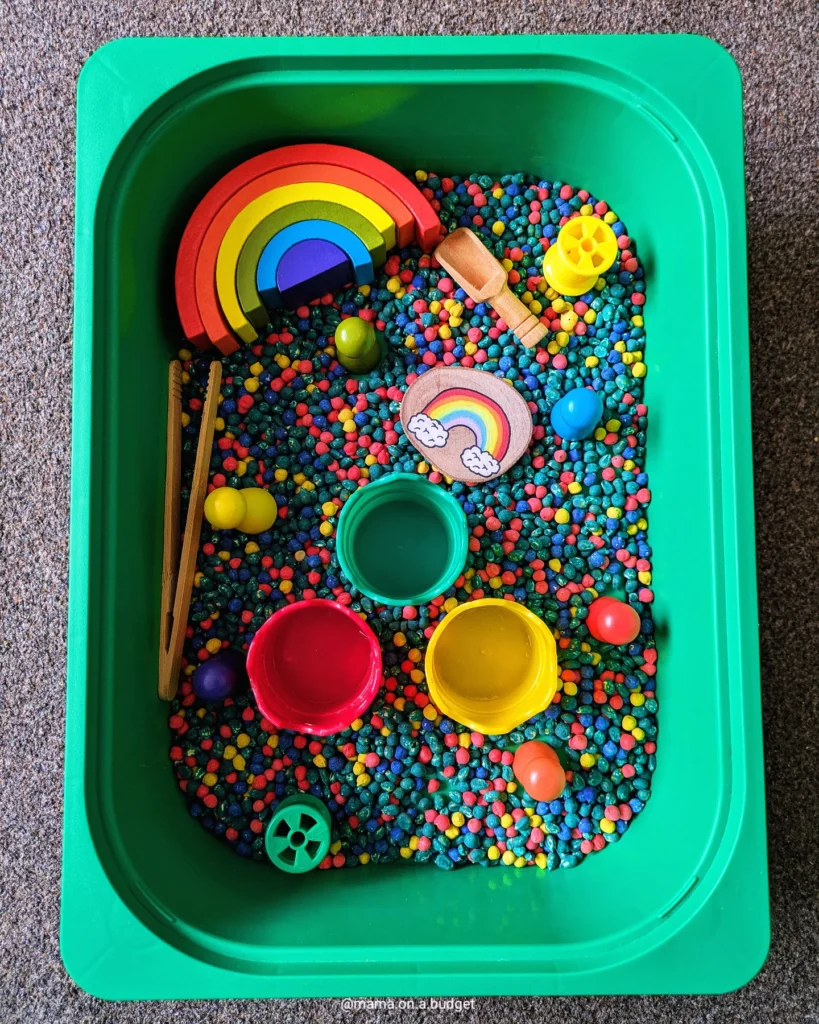
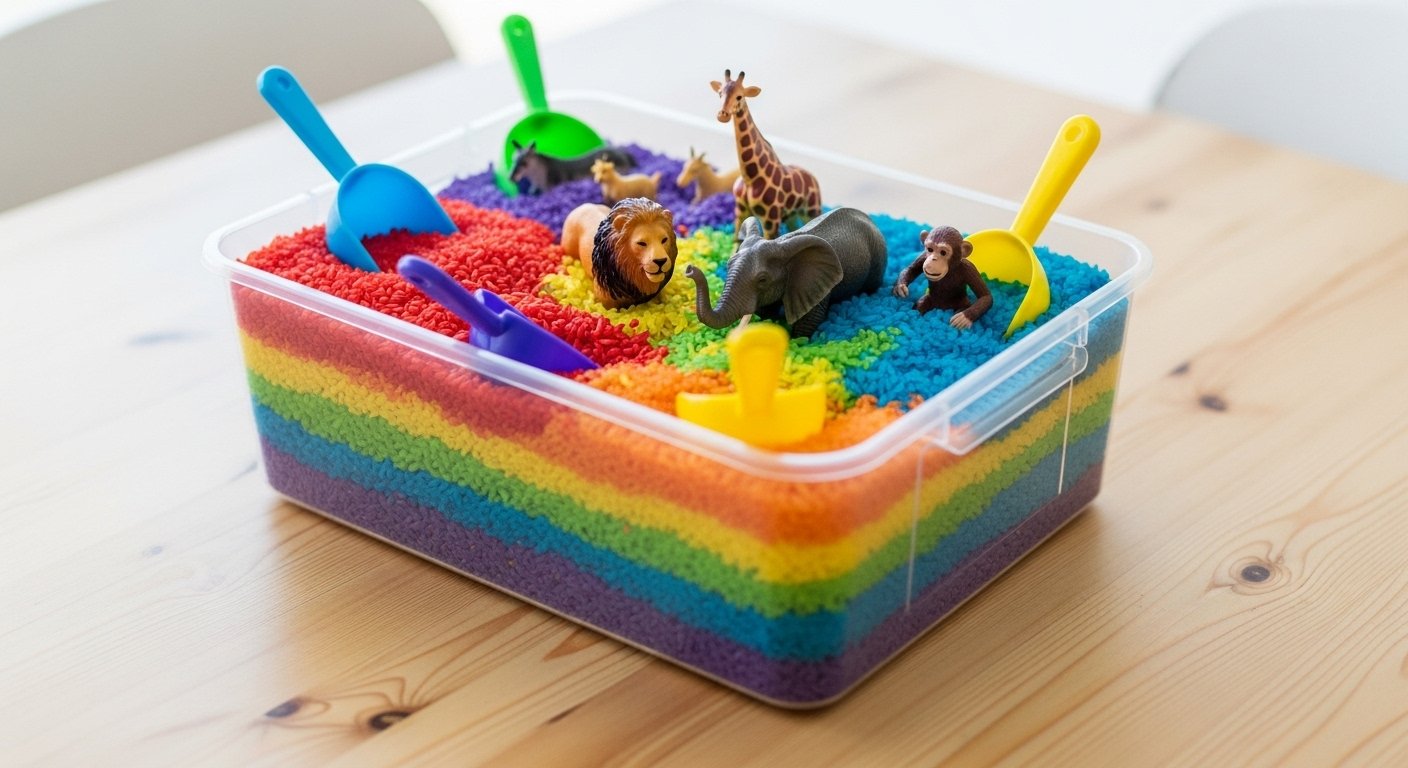
Step 4: Theme It (Optional but Fun)
Want to go the extra mile? Add a little theme. Toss in toy dinosaurs for a “dino dig,” or use blue-dyed rice with seashells and plastic fish for an ocean bin. Pom-poms and pipe cleaners? Instant rainbow world. Even just adding different colors or textures turns it into a completely new game.
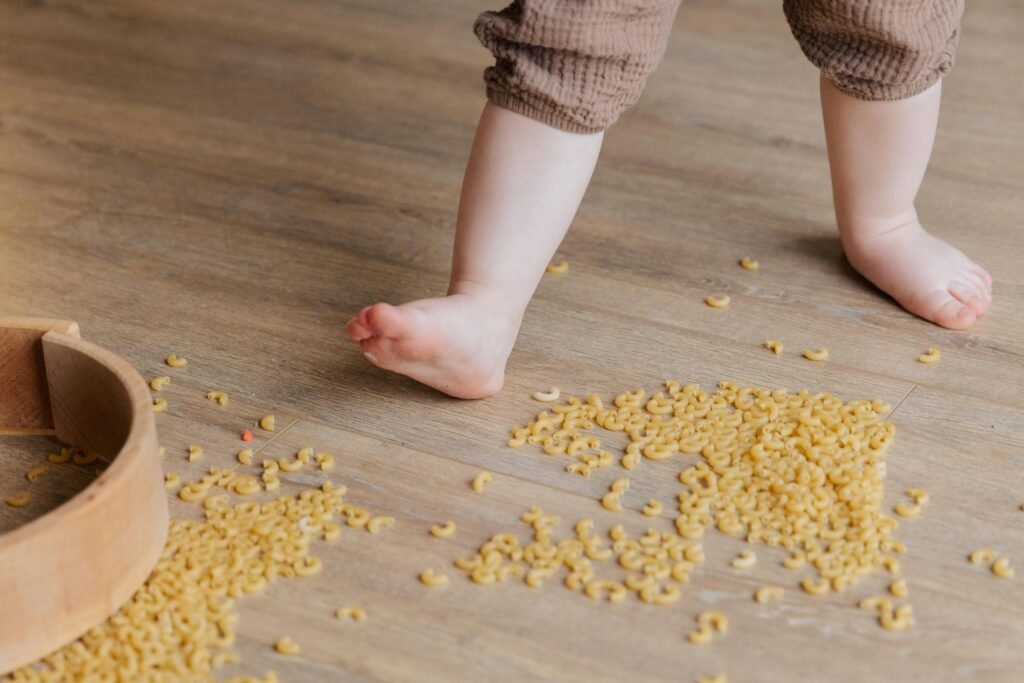
Step 5: Contain the Chaos
Lay down a towel, sheet, or plastic mat it’s going to get a little messy. And that’s okay. Keep a hand vacuum or dustpan nearby if that gives you peace of mind. Or, parked on the kitchen floor works great too. Some parents even set it up in the bathtub (when it’s dry) for easier cleanup.
Step 6: Let Them Play
Now the best part step back and watch them explore. Let them lead the play. Don’t guide too much. You might be surprised how long they stay engaged just scooping beans from one bowl to another. It’s hands-on, great for motor skills, and kind of mesmerizing.
Sensory bins are one of those magical activities that offer maximum engagement with minimal effort. Plus, you can always mix things up later with a new filler or a few surprise toys. Once you make one, you’ll be hookedand so will your toddler.